
DIY Canvas Art
Do you need a fun project to do with your kiddos? Or even just a fun project for yourself? How about a little paint fun on a canvas! This will give them the freedom to be creative and of course to get messy. My 4-year old enjoyed it and wanted to paint all of my canvases. She painted 2 canvases for me to place on her closet doors in her bedroom. So, let me show you step-by-step what we did.
This post may contain some affiliate links for your convenience. That means if you make a purchase after clicking a product, I will earn an itty bitty commission at no extra cost to you! Read my full Privacy and Disclosure statement HERE.
Materials Used
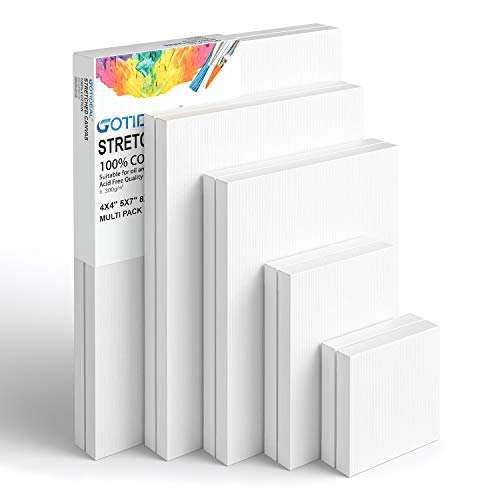
Canvas (whatever size you want to use)
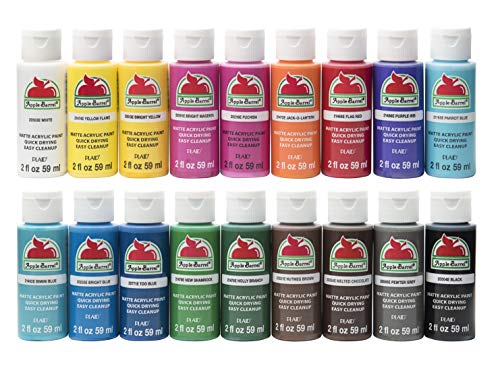
Acrylic paint
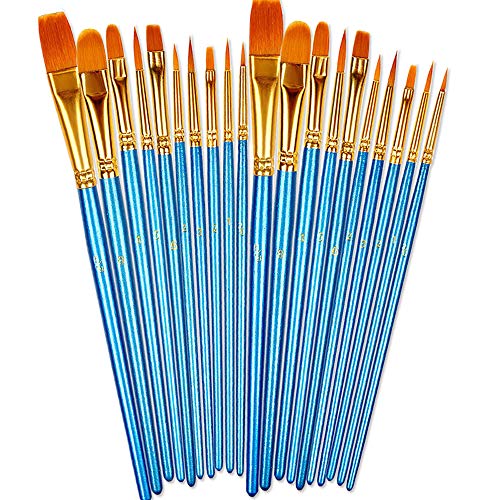
Paint Brushes
A cup of water
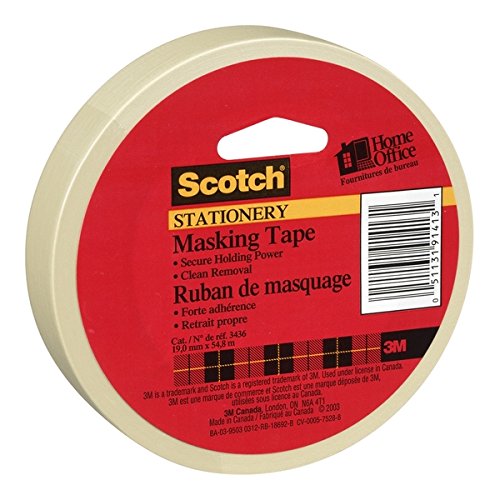
Painter’s tape or Masking tape/Dollar tree tape
Artist palette

Step 1: Place Painter’s tape on Canvas
There’s no particular design for this unless you have something in mind you would like to do. If you want to get the look like the pics you see on this blog, just randomly place the painter’s tape across the canvas.

Blank Canvas with Painter’s Tape
Step 2: Place Paint in your artist palette
So, you really can use anything, but these artist palettes are inexpensive, it's good to have a few. It's great for the kids. Just place the paint colors you'd like to use in a paint tray palette. I started my 4-year old slowly, but that was short-lived as she wanted more colors to work with.

Artist Palette
Step 3: Paint Your Canvas
This is where I let my 4-year old make all the decisions. I let her choose where the colors would go. All I did was remind her to cover the entire area before moving on to the next. My 12-year old was in on the fun as well. You'll see both pics.
My 4-year old wanted to paint the sides, so she did. We completed 2 canvases. You can see her little fingers in the pictures below.


My 12-year old chose not to paint the side of her canvases. She completed two as well. She decided to put the paint right on the canvas, but we found out that that she had to be quick because the paint had begun to dry in that one spot. I didn’t think about it then, but she could’ve possibly put a little water on her brush to smooth it out. I think it was more noticeable to me than her though.


Step 4: Remove Painter’s Tape
After about 30-45 min, carefully remove the tape. Let it dry completely, and then display it however you like.

Removing painter’s tape
Here are the completed canvas art from both girls. I let my 4-year old complete the second one with her fingers as you can see in the pics above. She was sooooooo ready for that one. For the glitter portion, I did that one section first by applying Mod Podge on the canvas and then cover with glitter. Tap off excess.


To add to my living room wall decor (check my previous blog for that), I made this small canvas art to add to add to that wall.

DIY Canvas Art
This is such an easy, beautiful piece of work. It’s also a great way to keep the kiddos entertained. There are so many ways to make it unique. So gather your materials and get to work!
What ways will you make this unique for you?
If you decide to follow this tutorial, be sure to tag me at #handmadebykelllc
Stay Crafty!!
~Kel
Pin Me Now to Read Later!!!

